Home Blogs Service-Now OKTA Integration

Service-Now OKTA Integration

Step-by-Step integration of Service-Now with OKTA

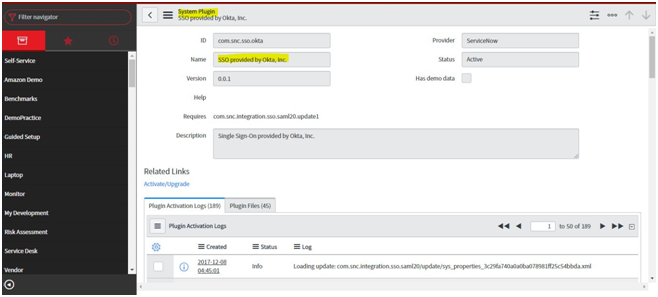
1. Activate Plugin: SSO provided by Okta, Inc.

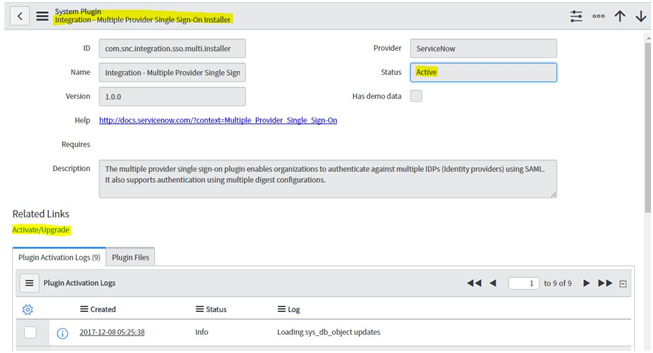
2. Activate Plugin: Integration - Multiple Provider Single Sign-On Installer

3. Go to OKTA web site and click "Try Okta"

  • Click "Trial for IT".
  • Enter Work Email (Eg.test.test@test.com)
  • Enter First Name and Last Name.
  • Click "Get Started".

4. Check Email and Click on Activate on Okta account.

  • Enter New Password
  • Confirm Password
  • Security Question
  • Security Answer
  • Select any Security Image
  • And Click "Create My Account".

5. After Login in it will navigate to Main Page of Okta.In Tab Click on "Applications" and select Applications from Drop down. Click on "Add Application"

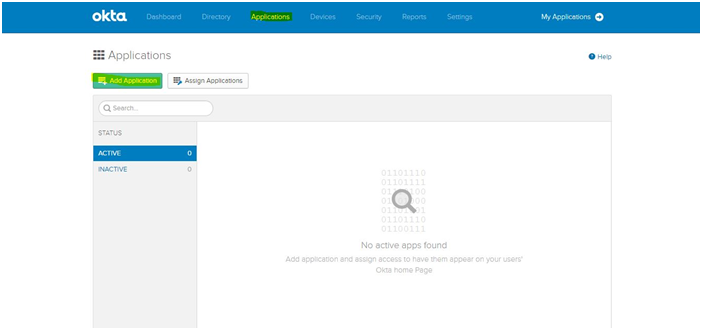
6. Search for ServiceNow and click Add "ServiceNow UD".

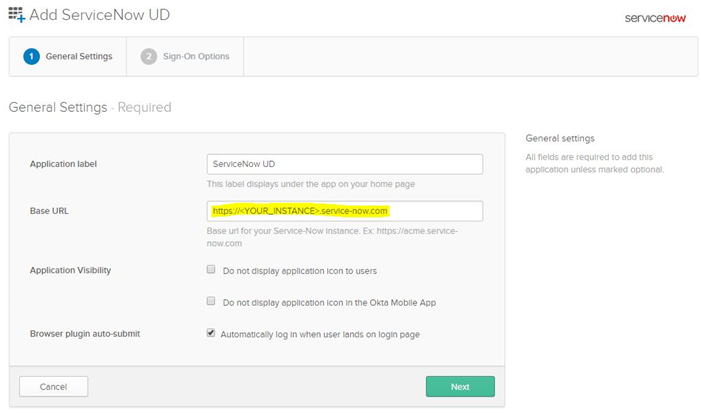
7. In Base URL Enter Your Instance Name. (eg.https://.serviec-now.com)

-Click on Next

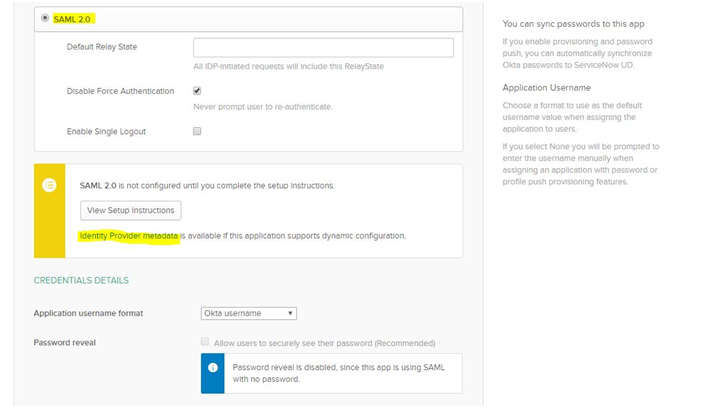
8. In Sign-On Options Tab

  1. Select Button "SAML 2.0"
  2. Click on Link "Identity Provider Metadata" XML file will get downloaded.
  3. Click on "Done"

9. Go to ServiceNow Instance and Search "Identity Providers" in Left

Navigation

  1. Click On "New"
  2. Select "SAML"
  3. Select "XML" button and
  4. Open the "Identity Provider Metadata" XML File in WordPad. Copy all Data.
  5. And Paste in "XML" provided box.
  6. Click "Import"
  7. Data will get copied accordingly.
  8. Click on Test Connection and then Activate.

10. Go in General Tab Click Edit and Check mark for "Auto Launch".

11. Go to Assignments and Assign ServiceNow UD application to that user.

12. Go to Provisioning and Click "Configure API Integration"

  • Check Mark "Enable API Integration"
  • And Enter ServiceNow Instance Login User and Password and Test API
  • Credentials and get Verified.

13. Go to Import Tab

Click on Import Now Button all users will get imported into OKTA.